
How to use OVH Cloud Desktop with Raspberry Pi 3
I had this stupid idea that one of my Rapberry Pi 3 would make an absolute perfect Windows client for running against on OVH Cloud Desktop…

I had this stupid idea that one of my Rapberry Pi 3 would make an absolute perfect Windows client for running against on OVH Cloud Desktop environment. First, I had subscribed to the OVH offer 3 Cloud Desktop with 4 CPU, 16Gb RAM and 100Gb.
I found an Raspberry Pi project called RPiTC (Raspberry Pi Thin CLient) http://rpitc.blogspot.se/ which would be a good base to work on. Let’s go to the installation part.
Installation
Hardware and Software
RPiTC2 (or Raspberry Pi ThinClient project 2) is based on the ARM board Raspberry Pi 2. So we need a Raspberry Pi 2 or 3 board and an microSD with at least 1900Mb free
Download and Burn
Go to last version http://rpitc.blogspot.com/2017/02/rpitc-v3-112-release-available.html
I’m a Mac OSX user so Etcher is the best fit to burn my image on SD card. Once done, we can begin the installation part.
RPiTC Builder
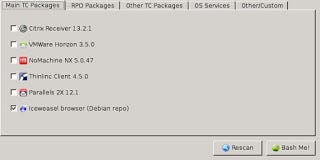
RPiTC OS comes with a simple gui to install, remove and configure your OS. Default is: Iceweasel, SSH Server, VNC Server, Docky and Conky.
On the “Main TC Packages”, tick VMWare Horizon, others are optional.
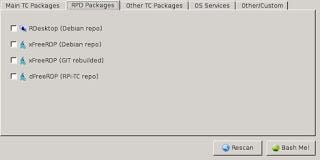
On the “RDP Packages”, tick RDesktop or others.
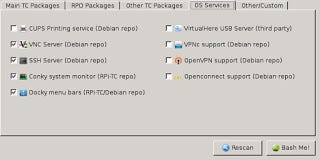
On the “Services”, I had took all (CUPS, VNCServer, SSH Server, Conky, Docky, VirtualHere USB Server, VPNc, OpenVPN, Openconnect)
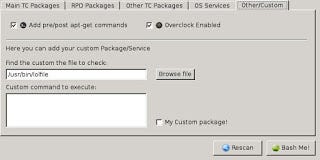
On the “Other/custom”, nothing to do.
Click on Bash me! button. A new window will show with the commands needed to update/remove the selected softwares/services.

When the script end, reboot the system.
Here we are
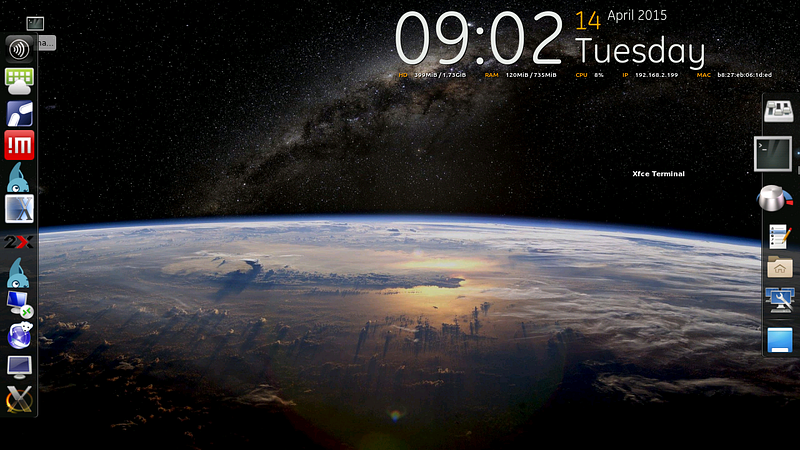
The main desktop is quite simple:
Right click and launch the VMWare Horizon Client. Put your configuration https://xxxxx.deskaas.com and launch the connection. You will see than performance are quite impressive for a RaspI3. Enjoy !!!